Build VP9 Extension Codec
ExoPlayer 2 hides lots of complexity of the code in the class SimpleExoPlayer. This comes with a disadvantage of writing your own custom Renderer. For this tutorial, we are going to use main ExoPlayer repo and build VP9 codec.
Checkout
Checkout ExoPlayer with extension
git clone https://github.com/google/ExoPlayer.git
Build
Set the following environment variables:
cd "<path to exoplayer checkout>"
EXOPLAYER_ROOT="$(pwd)"
VP9_EXT_PATH="${EXOPLAYER_ROOT}/extensions/vp9/src/main"
Android NDK
NDK_PATH="<path to Android NDK>"
Fetch libvpx and libyuv:
cd "${VP9_EXT_PATH}/jni" && \
git clone https://chromium.googlesource.com/webm/libvpx libvpx && \
git clone https://chromium.googlesource.com/libyuv/libyuv libyuv
Run a script that generates necessary configuration files for libvpx:
./generate_libvpx_android_configs.sh "${NDK_PATH}"
If there is build problem, use contents of this gist and replace generate_libvpx_android_configs.sh.
Build JNI native libraries
${NDK_PATH}/ndk-build APP_ABI=armeabi-v7a -j4
You will see a new folder called libs appeared with .so files.
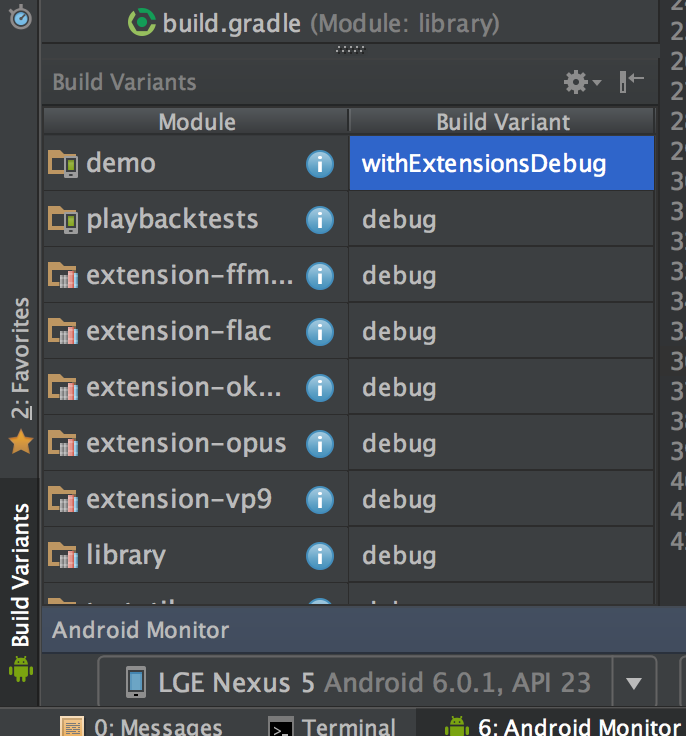
Build project with Build Variant withExtensionDebug as shown in the picture below.
Run the project. You can verify that .so native libraries are added in ExoPlayer apk by analyzing APK.
Test
Play a content in MISC -> VP9. In the logs you should see
Loaded LibvpxVideoRenderer.
Which confirms that VP9 codec is used!